-
FETTE THREAD ROLLING
Thread rolling atatchments used on all our cnc lathes. Various sizes of rolls available.
-
MITUTOYO APEX CRYSTA 574 – CNC CMM WITH MCOSMOS SOFTWARE & SPC SUITE
CNC coordinate measuring machine that is at the hub of our inspection department and used in the main for checking of long batch run work or regularly repeating work. This full CNC unit also has part scanning measurement, and various size probes for checking even the most complex of parts. The software is the comprehensive Mitutoyo MCOSMOS suite. We also have Mitutoyo Measurelink software for SPC functions. We are able to reverse engineer parts and measure freeform components using the Renishaw SP25 scanning head.Reporting is extremely comprehensive on this machine and we are able to produce various reports to customers requirements, including full FAI, PPAP, Comprehensive Final inspection reports, SPC reports etc etc.
-
MITUTOYO APEX CRYSTA 7106 – CNC CMM WITH MCOSMOS SOFTWARE & SPC SUITE – SIMILAR TO ABOVE BUT LARGER CAPACITY
CNC coordinate measuring machine that is at the hub of our inspection department and used in the main for checking of long batch run work or regularly repeating work. This full CNC unit also has part scanning measurement, and various size probes for checking even the most complex of parts. The software is the comprehensive Mitutoyo MCOSMOS suite. We also have Mitutoyo Measurelink software for SPC functions. We are able to reverse engineer parts and measure freeform components using the Renishaw SP25 scanning head.Reporting is extremely comprehensive on this machine and we are able to produce various reports to customers requirements, including full FAI, PPAP, Comprehensive Final inspection reports, SPC reports etc etc.
-
BROWN & SHARPE GAUGE 2000 THREE DIMENSIONAL CMM
Manual CMM used for quick checking of setups or simple components not suitable for setting up a CNC CMM for. The unit has QCT software installed and enables checking of most features on machined parts.
-
QUANTUM 4 MANUAL CMM
Manual CMM with Renishaw MH20i Probe System. The unit has QCT Inspect 3D software installed and enables checking of most features on machined parts including 3D and surfaced features, with compare to nominal model comparisons possible. Temperature compensation system ensures accuracy at all times..
-
VICI VISION 309 PRIMA OPTICAL MEASURING MACHINE
This machine is for fast verification of turned parts. It offers detailed image capture even on the smallest features inc. concentricities, run-outs, etc. Accuracy is down to around 1.5um on diameters and 4um on length. The Vici software will produce a comprehensive and detailed inspection report with each run, and once a part is set to measure, can take only a few seconds to generate inspection reports.
-
DELCAM FEATURECAM MILLING AND TURNING CAD/CAM PACKAGE
Versatile 3D CAD/CAM package capable of creating full CNC programs for both our milling and turning machines. Parts can be proven out prior to getting anywhere near a machine which speeds up turnaround, even on the most complex components. The package allows us to read most 3D model files and CAD formats and quickly generate toolpaths from them, saving time in drawing components first.
-
LICOM ALPHACAM CAD/CAM SYSTEM – 3D & 5 AXIS MACHINE PROGRAMMING
This CAD / CAM system enables us to generate complex cnc programs with ease and download them directly into any of our cnc machines by way of the dnc link up to our cad station. All our staff also have access to personal laptops to backup programs.
-
Open Mind HyperMill – 5 Axis CAD/CAM Software Suite
both simple and complex geometries can be programmed efficiently. Workpieces can be completely machined in a single setup thanks to the broad range of machining strategies. The advantages: continuous and more efficient processes, reduced processing times and higher reliability. In addition, hyperMILL® offers several options for automated programming, reducing machine cycle times and optimising processes. Examples of this include sophisticated feature and macro technology, automated functions such as mirroring and transforming, functions that minimise auxiliary processing times such as job linking or production mode, and fully automated collision checking and avoidance. Full programming carried out against customer supplied or in-house generated models.
-
Kerry CRD 250 3-Stage Ultrasonic Cleaning Bath
is a manually operated system providing ultrasonic cleaning with heating, immersion rinse weiring to drain, a hand held spray for second rinse (DI optional), and recirculating hot air dry up to a maximum temperature of 100°C – and all in one integrated unit. The CRD is a 3-stage aqueous ultrasonic cleaning system suitable for all applications where in depth cleaning of machined components is required.
- VARIOUS INSPECTION EQUIPMENT THAT IS USED FOR INSPECTION ONLYOur inspection department is furnished with some of the best measuring equipment, including microscopes, multiple CMMs, Bowers precision bore gauges, Mitutoyo electronic surface tester, shadow graph, metric and imperial slips and micrometers, digital calipers, height gauges and bore gauges etc etc all calibrated to UKAS traceable national standards and all kept exclusively for final inspection use only.
- BESPOKE ERP / MRP MANAGEMENT SYSTEMUsing software designed by ourselves, this is the engine to running the entirety of our business. From quotations and interacting with suppliers via our own portals, all the way through to customer statements and everything in between. We monitor KPI’s regularly as part of our day to day quality management. Informake will keep a full history and log of any part made in our workshops and maintain thorough traceability throughout. Historic job data will be kept for up to 20 years by default.The traceability functions of the system were a major part in our gaining the quality approvals we now hold. As the system is designed and written by us, we are able to add any functionality as customers or every changing standards demand. This always keeps us at the forefront of IT systems within our business.We have Remote Access to all of our machinery for diagnostics while running unmanned overnight. This enables operators to login to machine tools from home and check the job is still running and if not diagnose a possible fault without having to return to the factory.CNF utilises a fast internet connection with ability to receive CAD files in the majority of formats by email or by way of our own FTP server.
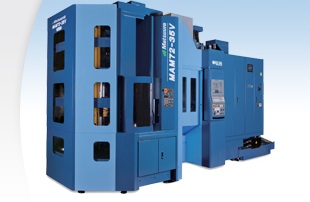 4 x MATSUURA MAM72-35V 32 PALLET SIMULTANEOUS 5-AXIS MACHINING CENTRESimultaneous 5-Axis machining centre with 240 tool changer, 32 pallets, 15,000 rpm BigPlus spindle, thro spindle coolant. The machine is fitted with Renishaw tool and job probing and runs the latest Fanuc 31i control unit. The machine is ideal suited for small volume, quick setups as well as unmanned lights out machining by utilising the 32 pallet pool this machine offers. The pallet pool enables us to leave regular jobs permanently set making setup times almost zero. We have the machine configured with zero point vices as well as bespoke cubes for larger batch runs.
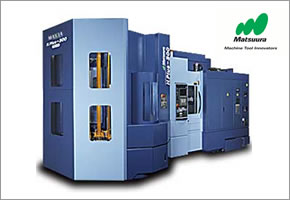 2 x MATSUURA H-PLUS 300-PC15 – FIFTEEN PALLET HORIZONTAL MACHINING CENTRELarge capacity horizontal machining centre with 240 tool changer, 15 pallets, 15,000 rpm BigPlus spindle, thro’ spindle coolant. The machine is fitted with Renishaw tool and job probing and runs the latest Fanuc 31i control unit. The machine is ideal for long runs, small batch work that regularly repeats or kits of parts. With 15 pallets all having tooling cube columns fitted, repeatable jobs will have setup times reduced to almost zero, improving delivery and cost to our customers.
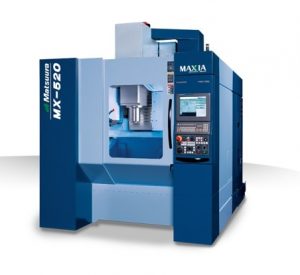 MATSUURA MX-520 SIMULTANEOUS 5-AXIS MACHINING CENTREthe MX-520 is a single table 5 axis machine with a part capacity of 520mm diameter by 350mm high. Utilising the latest Fanuc 31i control system as well as Renishaw job and tool probing systems fitted. This machine is aimed at fast turnaround complex machined components in a variety of materials and to support our multi pallet 5-Axis machines.
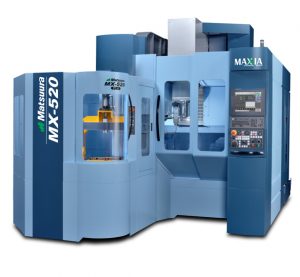 MATSUURA MX-520-PC4 SIMULTANEOUS 5-AXIS MACHINING CENTREsimilar to our other MX-520, this is a single table 5 axis machine with a part capacity of 520mm diameter by 350mm high. The addition on this machine to the other one is we have the ability to run 5-Pallets unmanned which are robot loaded. Utilising the latest Fanuc 31i control system as well as Renishaw job and tool probing systems fitted. Spindle speeds of upto 20,000 rpm. This machine is aimed at fast turnaround complex machined components in a variety of materials and to support our other multi pallet 5-Axis machines.
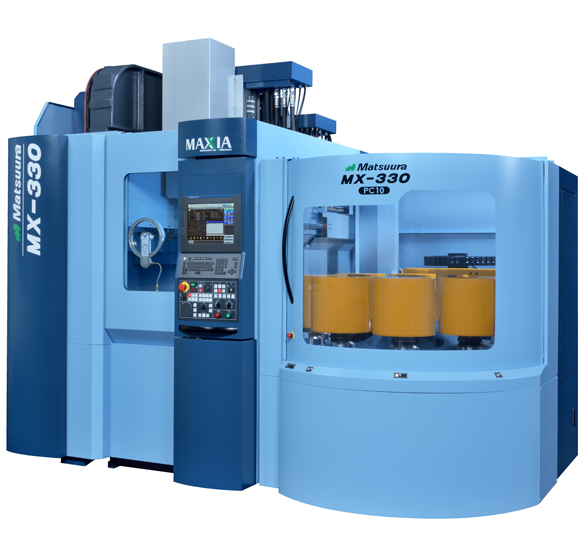 MATSUURA MX-330-PC10 SIMULTANEOUS 5-AXIS MACHINING CENTREThe MX-330 is a 10 pallet, robot loading 5 axis machine with a part capacity of 330mm diameter by 320mm high. Utilising the latest Fanuc 31i control system as well as Renishaw job and tool probing systems fitted. This machine is suited to complex multi axis machined components in a variety of materials from small volume through to high volume production. Due to its multi pallet setup the machine can run lights out, unmanned which gives the added benefit of unmanned costs. Every pallet is also fitted with a zero point vice system.
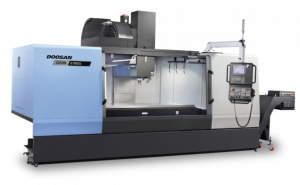 DOOSAN DNM6700XL – 3 AXIS VERTICAL MACHINING CENTRE – 2.2 METRE TABLEThis machine is a very large capacity mill ideally suited to long shaft or plate work, but also larger block work. We are flexible enough to set the machine up with an array of zero point vices for multiple batch work, or use the large 2.2m x 670mm bed for bigger jobs. With its 40 position BT40 tool changer, 15,000 rpm/18.5kw spindle, thermal compensation system, and latest Fanuc I-Series control, this machine is an absolute workhorse
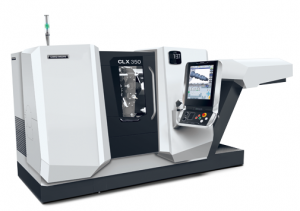 DMG MORI CLX-350 TWIN SPINDLE Y-AXIS TURRET UNIVERSAL MILL/TURN CENTREThis machine is primarily used for billet work up to approx 300mm diameter. The ability to Mill as well as turn on this machine enables us to get parts off in a single operation. The machine benefits from the latest Fanuc controller. The configuration gives us great flexibility for small volume and high volume billet work.
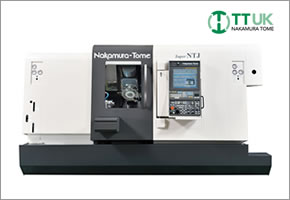 NAKAMURA SUPER NTJ MULTI AXIS TURNING CENTRETwin spindle with two turrets (one with B axis one with Y Axis) and capable of turning the most complex of milled/turned components. 65mm through the spindle and upto 8″ chuck capacity. The machine is fitted with a 1.5 metre Hydrafeed magazine bar feed, Renishaw job probing and an automatic parts offload system. The Nakamura interface enables remote diagnostics on the machine when running unmanned and lights out.
 CMZ TX-66-Y2 QUATTRO TWIN SPINDLE / TWIN TURRET (BOTH Y-AXIS) CNC MILL/TURN CENTRETwin spindle with two turrets (both with Y axis) and capable of turning the most complex of milled/turned components. 66mm through the spindle and upto 8″ chuck capacity. The machine is fitted with a 1 metre short Hydrafeed magazine bar feed. The machine benefits from the latest Fanuc 31iTB touch screen control. This machine is perfect for running lights out and unmanned on parts either milled or turned upto 66mm diameter.
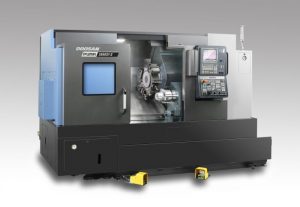 DOOSAN PUMA 2600 SY II TWIN SPINDLE Y-AXIS LATHE – DRIVEN TOOLS – 81mm BAR FEEDLarge diameter bar feed lathe with Y-Axis and driven milling tools. Machine is capable of upto 81mm diameter using the Hydrafeed servo bar feed, or billet work upto 260mm Diameter. Machine has the latest Fanuc control with EZ Guide. For more complex parts we have post processors for our Open Mind CAD/CAM system we use in house.
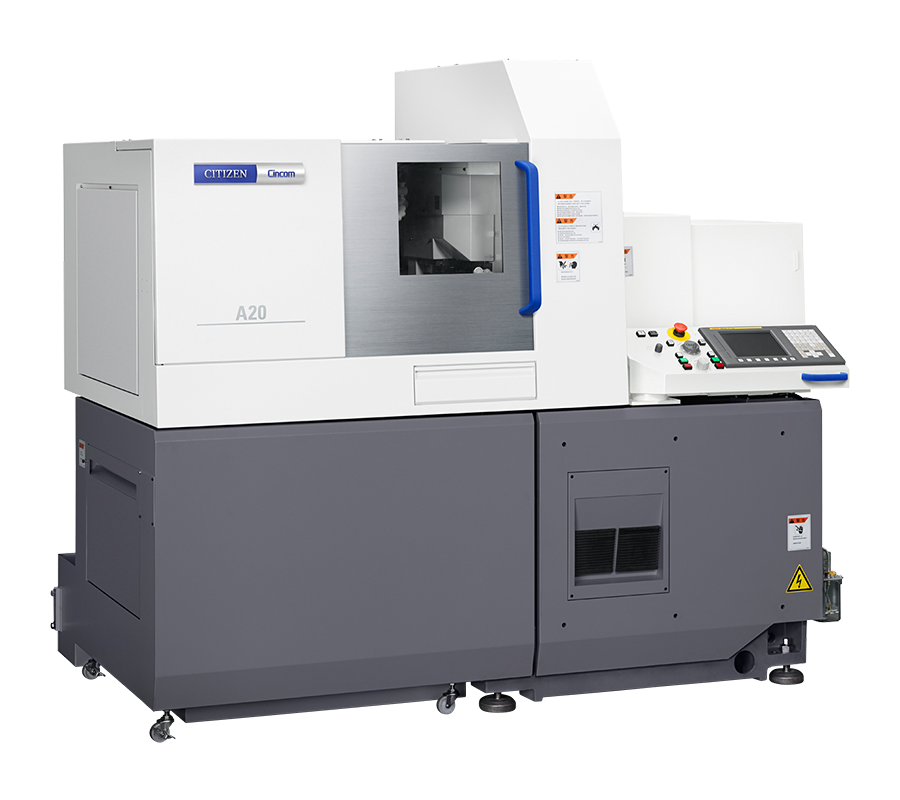 CITIZEN A20 7 – AXIS CNC SLIDING HEAD MACHINING CENTRE WITH LFV TECHNOLOGYUltra fast high speed machining centre with twin spindles for turned and mill turned components. Complex components can be machined in one setup without handling utilising its 12ft bar feed unit. 24/7 lights out operation for any components up to 25mm Diameter.
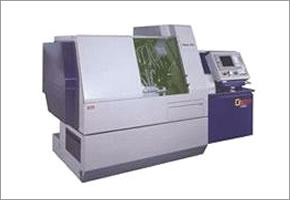 CITIZEN M32 13 AXIS CNC SLIDING HEAD MACHINING CENTREUltra fast high speed machining centre with twin spindles and upto 60 tools in one setup. complex components can be machined in one setup without handling. 24/7 operation. machine is fitted with full length magazine.
 MACSA ID HALO LASER ENRAVER WITH 4th AXISLaser engraving machine to mark numbers, letters or any graphics including around diameters using a 4th Axis rotary attachement.
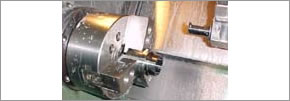 EMCO 320 PRECISION CNC SWISS TYPE LATHEThis machine is designed to produce small components with high precison. the machine only has a maximum capacity of 25mm diameter.
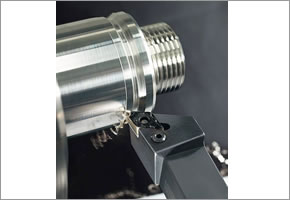 COLCHESTER CENTRE LATHESThese manual machines are used for second operation, prototype and workshop tooling work.
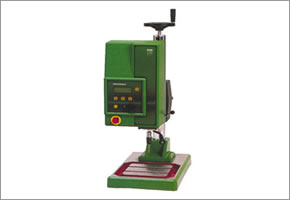 MICROTAP II CNC TAPPING MACHINEThis machine makes broken taps a thing of the past. High speed, precision depth and speed make this unit ideal for production or one offs.
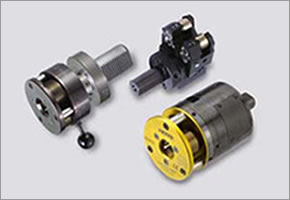 FETTE THREAD ROLLINGThread rolling atatchments used on all our cnc lathes. Various sizes of rolls available.
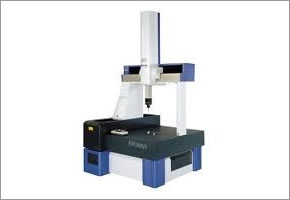 MITUTOYO APEX CRYSTA 574 – CNC CMM WITH MCOSMOS SOFTWARE & SPC SUITECNC coordinate measuring machine that is at the hub of our inspection department and used in the main for checking of long batch run work or regularly repeating work. This full CNC unit also has part scanning measurement, and various size probes for checking even the most complex of parts. The software is the comprehensive Mitutoyo MCOSMOS suite. We also have Mitutoyo Measurelink software for SPC functions. We are able to reverse engineer parts and measure freeform components using the Renishaw SP25 scanning head.Reporting is extremely comprehensive on this machine and we are able to produce various reports to customers requirements, including full FAI, PPAP, Comprehensive Final inspection reports, SPC reports etc etc.
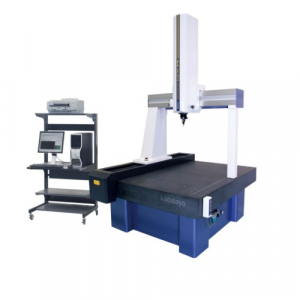 MITUTOYO APEX CRYSTA 7106 – CNC CMM WITH MCOSMOS SOFTWARE & SPC SUITE – SIMILAR TO ABOVE BUT LARGER CAPACITYCNC coordinate measuring machine that is at the hub of our inspection department and used in the main for checking of long batch run work or regularly repeating work. This full CNC unit also has part scanning measurement, and various size probes for checking even the most complex of parts. The software is the comprehensive Mitutoyo MCOSMOS suite. We also have Mitutoyo Measurelink software for SPC functions. We are able to reverse engineer parts and measure freeform components using the Renishaw SP25 scanning head.Reporting is extremely comprehensive on this machine and we are able to produce various reports to customers requirements, including full FAI, PPAP, Comprehensive Final inspection reports, SPC reports etc etc.
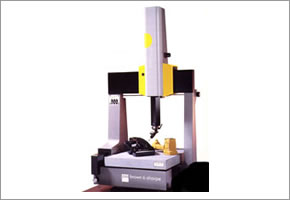 BROWN & SHARPE GAUGE 2000 THREE DIMENSIONAL CMMManual CMM used for quick checking of setups or simple components not suitable for setting up a CNC CMM for. The unit has QCT software installed and enables checking of most features on machined parts.
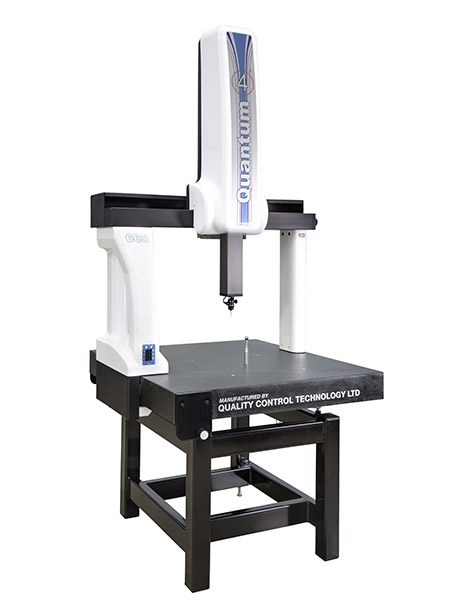 QUANTUM 4 MANUAL CMMManual CMM with Renishaw MH20i Probe System. The unit has QCT Inspect 3D software installed and enables checking of most features on machined parts including 3D and surfaced features, with compare to nominal model comparisons possible. Temperature compensation system ensures accuracy at all times..
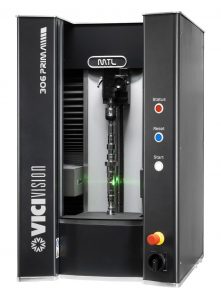 VICI VISION 309 PRIMA OPTICAL MEASURING MACHINEThis machine is for fast verification of turned parts. It offers detailed image capture even on the smallest features inc. concentricities, run-outs, etc. Accuracy is down to around 1.5um on diameters and 4um on length. The Vici software will produce a comprehensive and detailed inspection report with each run, and once a part is set to measure, can take only a few seconds to generate inspection reports.
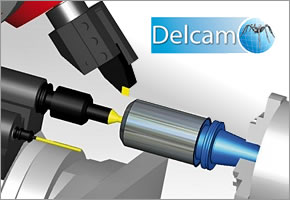 DELCAM FEATURECAM MILLING AND TURNING CAD/CAM PACKAGEVersatile 3D CAD/CAM package capable of creating full CNC programs for both our milling and turning machines. Parts can be proven out prior to getting anywhere near a machine which speeds up turnaround, even on the most complex components. The package allows us to read most 3D model files and CAD formats and quickly generate toolpaths from them, saving time in drawing components first.
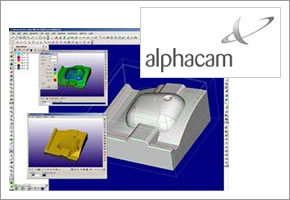 LICOM ALPHACAM CAD/CAM SYSTEM – 3D & 5 AXIS MACHINE PROGRAMMINGThis CAD / CAM system enables us to generate complex cnc programs with ease and download them directly into any of our cnc machines by way of the dnc link up to our cad station. All our staff also have access to personal laptops to backup programs.
 Open Mind HyperMill – 5 Axis CAD/CAM Software Suiteboth simple and complex geometries can be programmed efficiently. Workpieces can be completely machined in a single setup thanks to the broad range of machining strategies. The advantages: continuous and more efficient processes, reduced processing times and higher reliability. In addition, hyperMILL® offers several options for automated programming, reducing machine cycle times and optimising processes. Examples of this include sophisticated feature and macro technology, automated functions such as mirroring and transforming, functions that minimise auxiliary processing times such as job linking or production mode, and fully automated collision checking and avoidance. Full programming carried out against customer supplied or in-house generated models.
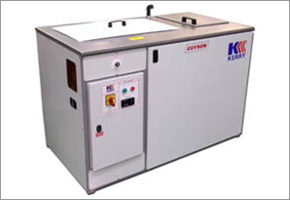 Kerry CRD 250 3-Stage Ultrasonic Cleaning Bathis a manually operated system providing ultrasonic cleaning with heating, immersion rinse weiring to drain, a hand held spray for second rinse (DI optional), and recirculating hot air dry up to a maximum temperature of 100°C – and all in one integrated unit. The CRD is a 3-stage aqueous ultrasonic cleaning system suitable for all applications where in depth cleaning of machined components is required.


